
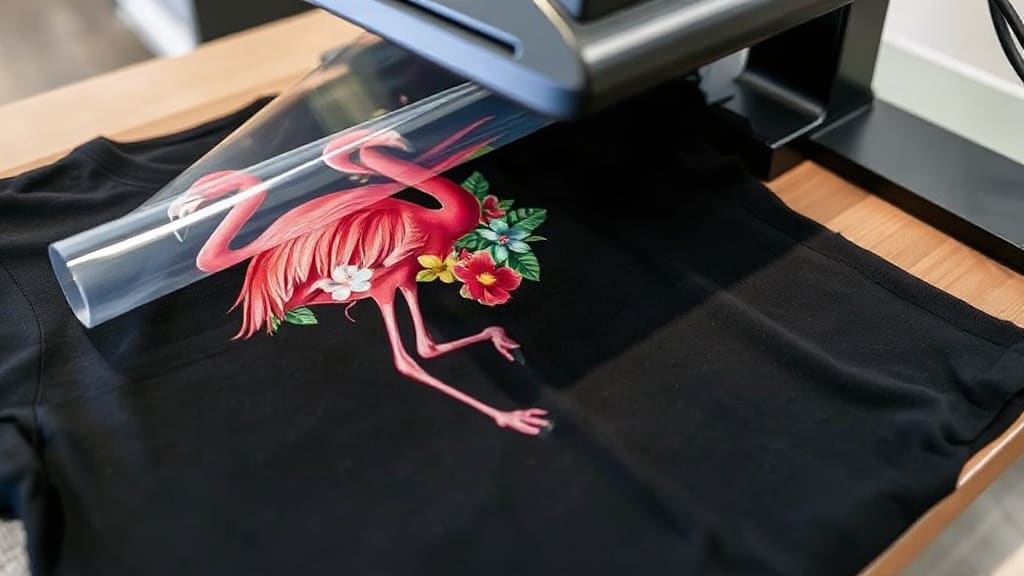
If you're new to the world of custom apparel, you've likely heard about DTF transfers and wondered what the buzz is all about. Direct-to-film (DTF) printing has taken the industry by storm, offering a versatile and beginner-friendly way to create vibrant, durable designs on a wide range of fabrics. Unlike traditional methods that require expensive equipment or intricate setups, DTF transfers simplify the process, making it accessible to hobbyists and small business owners alike. In this guide, we'll break down everything you need to know about DTF transfers, from the basics to pro tips.
What Are DTF Transfers?
DTF transfers are pre-printed designs on a special film that can be transferred onto fabric using heat and pressure. The process involves printing a design onto a PET film with a specialized printer, applying adhesive powder, and then curing it. Once ready, you place the film on your garment, apply heat, and peel away the film to reveal a soft, stretchy, and vibrant print.
This method has become incredibly popular because it works on a variety of materials, including cotton, polyester, blends, and even nylon. It's also cost-effective for small runs and offers unlimited color possibilities without the need for screens or complex color separation.
How Do DTF Transfers Work?
Understanding the mechanics behind DTF transfers can help you troubleshoot and achieve the best results. Here's a step-by-step breakdown of the process:
- Printing: A DTF printer uses special CMYK ink (plus white) to print your design in reverse onto a coated PET film. The white ink creates an underbase that allows colors to pop on dark garments.
- Applying Adhesive Powder: While the ink is still wet, a hot-melt adhesive powder is applied to the printed areas. This powder is what bonds the design to the fabric.
- Curing: The film with powder is passed through a curing oven or heat press to melt the adhesive and partially cure the ink. This ensures the powder sticks only to the design.
- Transfer: You place the film on your garment with the design facing down. Using a heat press, you apply pressure and heat (around 320°F for 15 seconds) to activate the adhesive and transfer the design.
- Peeling: Once pressed, you peel away the film, leaving your design permanently fused to the fabric.
The entire process is straightforward, but it does require some initial investment in equipment if you plan to print your own transfers. Alternatively, you can purchase ready-made DTF transfers from suppliers like DTF Design Pro.
Why Choose DTF Transfers Over Other Methods?
Comparing DTF with screen printing or vinyl can help you decide if it's the right fit for your project. Here are some key advantages:
- Versatility: DTF works on almost any fabric, including tricky blends and performance wear.
- Vibrant Colors: The white underbase ensures colors stay true, even on dark backgrounds.
- Soft Hand Feel: Prints are flexible and don't crack or peel easily.
- No Weeding: Unlike vinyl, there's no tedious weeding involved.
- Great for Small Orders: No screen setup costs, so you can print one-off items profitably.
While screen printing is still better for massive bulk orders due to lower per-unit costs, DTF offers flexibility that's hard to beat.
Equipment Needed for DTF Transfers
To start printing your own DTF transfers, you'll need a few specific pieces of equipment. Here's a checklist:
- DTF Printer: An inkjet printer that's compatible with DTF inks and has a white ink circulation system. Many people convert Epson printers.
- DTF Inks: CMYK plus white ink, designed for film printing.
- PET Film: A special coated film that holds the ink and powder.
- Adhesive Powder: Hot-melt powder that comes in various particle sizes.
- Shaker or Applicator: To spread powder evenly.
- Heat Source: A curing oven or a heat press can be used for curing.
- Heat Press: Essential for transferring the design onto garments.
If you're just starting, you might consider purchasing a starter kit that includes most of these items.
Step-by-Step Guide to Using DTF Transfers
Once you have your transfers, applying them is a breeze. Here's a detailed walkthrough:
Preparing Your Garment
Make sure your garment is clean, dry, and free of wrinkles. Pre-press it for a few seconds to remove moisture and flatten the surface. This step ensures better adhesion.
Positioning the Transfer
Place the DTF transfer on the garment with the film side up. Make sure it's centered and straight. Use a ruler or a template if needed.
Heat Press Settings
For most fabrics, set your heat press to 320°F (160°C) with medium to firm pressure. The pressing time is typically 15-20 seconds. However, always check the manufacturer's recommendations, as different films and powders may require adjustments.
Cooling and Peeling
After pressing, some films can be peeled hot, while others need to cool. For a clean finish, it's often best to wait a few seconds and peel slowly. If any areas lift, you can re-press with a protective sheet.
Post-Press Care
Once peeled, you may want to give the print a quick second press for extra durability, especially if you plan on washing the garment frequently. Use a Teflon sheet or parchment paper to protect the print.
Tips for Perfect DTF Transfers Every Time
Achieving professional results takes a bit of practice. Here are some pro tips to help you:
- Use the right film: Not all PET films are created equal. Choose one that's specifically designed for DTF printing.
- Shake the powder well: Ensure even coverage by shaking or sifting the adhesive powder thoroughly.
- Don't over-cure: Over-curing can make the adhesive brittle. Follow recommended temperature and time.
- Test on scraps: Before committing to a final garment, test on a similar fabric to fine-tune your settings.
- Store transfers properly: Keep unused transfers in a cool, dry place away from direct sunlight.
Common Mistakes and How to Avoid Them
Even experienced printers run into issues. Here are some frequent pitfalls and solutions:
- Poor adhesion: If prints wash off, increase pressure or temperature slightly, or extend pressing time.
- Ghosting: This happens when the film shifts during pressing. Use heat-resistant tape to secure the film.
- Colors bleeding: Ensure the ink is fully cured before transferring, and don't use too much powder.
- Cracking: If prints crack, the adhesive powder might be too coarse, or the garment is stretched. Use a finer powder and avoid overstretching.
DTF Transfers vs. UV DTF Transfers
You might also encounter UV DTF transfers, which are different. UV DTF uses a UV-cured adhesive and is primarily for hard surfaces like mugs, tumblers, and phone cases. It's not suitable for fabric. Understanding this distinction can help you choose the right product for your project.
How to Choose a DTF Transfer Supplier
If you're not ready to invest in printing equipment, buying pre-made transfers is a great option. Look for a supplier that offers:
- Quality control: Consistent colors and adhesion.
- Variety: Different sizes and custom design options.
- Customer service: Helpful support and fast turnaround times.
- Reasonable prices: Compare costs, but don't sacrifice quality for a lower price.
At DTF Design Pro, we pride ourselves on delivering top-notch transfers with vibrant colors and durability.
Frequently Asked Questions
Can DTF transfers be used on any fabric?
Yes, DTF transfers work on a wide range of fabrics, including cotton, polyester, silk, denim, and even leather. However, for very stretchy materials, ensure you use a stretchable adhesive powder and follow recommended pressing times.
How long do DTF transfers last?
With proper application and care, DTF prints can last as long as the garment itself. They are resistant to cracking, peeling, and fading, even after multiple washes.
Do I need a special printer for DTF transfers?
Yes, you need an inkjet printer that can handle DTF inks and has a white ink circulation system. Many users convert Epson EcoTank printers for this purpose. It's essential to use quality inks to prevent clogging.
What is the difference between DTF and sublimation?
Sublimation requires polyester fabrics and works by turning ink into gas that bonds with the fibers. It only works on light-colored, polyester-based materials. DTF transfers work on any fabric and color, making them more versatile.
Can I use a regular heat press for DTF transfers?
Absolutely! A standard heat press works perfectly for DTF transfers. You just need to adjust the temperature and pressure according to the film's instructions.
Conclusion
DTF transfers have revolutionized the custom apparel industry by offering a simple, cost-effective way to produce high-quality prints. Whether you're a hobbyist or an entrepreneur, understanding the process and best practices will set you up for success. With the right equipment or a trusted supplier, you can create stunning designs that stand out. So why not give DTF transfers a try? Your next project might just become your best seller.