
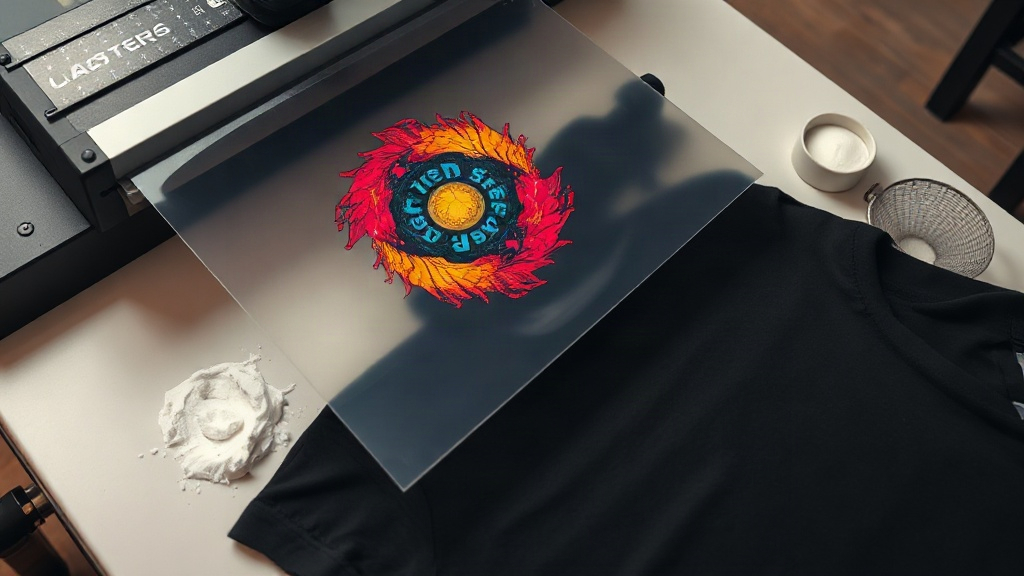
If you have spent any time in a decorated apparel shop lately, you have probably noticed a printer laying down vivid designs onto a clear film instead of directly onto a shirt. That is DTF printing, short for direct-to-film, and it has quietly become one of the most flexible ways to put full-color artwork onto fabric. Unlike screen printing, which locks you into one ink setup per color, or vinyl cutting, which struggles with fine gradients, DTF handles photographs, tiny text, and blended fades in a single pass. The catch is that the process has more moving parts than it first appears, and small mistakes in film choice, powder application, or press settings show up later as cracked or peeling transfers. This guide walks through how the workflow actually behaves in a working shop, what to watch at each stage, and how to troubleshoot the problems that come up most often.
How the DTF Process Works From Start to Finish
The core idea is simple: print a mirror-image design onto a special film using pigment inks, dust the wet ink with a hot-melt adhesive powder, cure that powder, then transfer the whole thing onto fabric with heat and pressure. The adhesive is what bonds the print to the garment, and the film is just a temporary carrier. Once you understand that separation of roles, the rest of the process makes more sense.
Step 1: Preparing and Printing the Artwork
Everything starts with a print-ready file. Because the design transfers face-down, it must be mirrored horizontally before printing, and most RIP software does this automatically once you select the correct film preset. White ink sits underneath the color layers as an opaque base, which is why DTF works on black and navy garments without the washed-out look you get from printing color directly onto dark fabric. Pay attention to how your software handles white underbase choke; a small choke, often around one to two pixels, keeps a thin white outline from peeking out around the edges of dark artwork.
Step 2: Powdering and Curing the Adhesive
While the ink is still wet, thermoplastic polyurethane powder is applied across the print, then shaken off so only the ink areas hold granules. This step is where a lot of beginners lose quality. Too little powder and the transfer will not bond to the fabric, especially at the edges. Too much and you get a rough, sandy texture that feels unpleasant and can gum up your press. A shaker with a fine mesh, followed by a gentle tilt and tap rather than a hard shake, gives the most even coverage. After powdering, the film passes through a curing oven or under a heat source until the powder turns glossy and gel-like. If it still looks matte and powdery, it is undercured and will fail on press.
Step 3: Pressing Onto the Garment
Transfer settings vary by film brand and powder, but a common starting point is 320 to 340 degrees Fahrenheit for 10 to 15 seconds at medium to firm pressure, with the film face-down on the garment. Peel the film while it is still warm for a matte, fabric-like finish, or let it cool for a slightly glossier look. Cotton, polyester, blends, and even canvas totes all accept DTF transfers, which is a big part of the appeal for shops that handle mixed orders.
Choosing Film, Powder, and Ink Without Guesswork
Suppliers sell a lot of similar-looking products, and the differences matter more than the price tag suggests. Here is what actually changes performance.
- Film thickness: Thinner films, around 75 microns, release cleaner detail and are easier to peel, but they can wrinkle if your printer's feed path is aggressive. Thicker films are more forgiving to handle but can leave a heavier hand feel.
- Powder mesh size: Finer powder, typically 80 to 200 microns, gives a softer finish and is better for detailed work. Coarser powder bonds aggressively but feels rougher on the surface.
- Ink quality: Cheap pigment inks clog print heads faster and produce weaker color saturation. If you print daily, the savings rarely outweigh the downtime.
- Storage: Film absorbs humidity. Sealed bags and a dry room prevent the curling and misfeeds that plague open packages left out overnight.
A practical habit is to log the batch number of every film and powder you open, along with your press settings. When a transfer fails three weeks later, that log tells you whether the problem is your technique or a bad batch.
Common Problems and How to Fix Them
The transfer peels after washing
Nine times out of ten this traces back to undercuring the powder or pressing at too low a temperature. Check that the powder turned fully glossy before pressing, and verify your platen temperature with an infrared thermometer rather than trusting the dial. Washing inside out in cold water and avoiding fabric softener also extends the life of any heat-applied transfer.
The print looks cracked or stiff
Excess powder is the usual culprit. It creates a thick adhesive layer that cracks when the fabric stretches. Reduce powder coverage, and if the design is large, consider breaking it into smaller panels so the garment can move naturally.
Colors look dull on dark shirts
This usually means the white underbase is too thin. Increase white ink density in your RIP profile or print a second white pass. On very dark or heavily textured fabrics, a slightly heavier white layer is worth the extra ink.
Fine details bleed or fill in
Lower your print resolution settings are not the answer here; the issue is often too much ink or a film that cannot hold detail. Switch to a finer powder, reduce ink limits slightly, and make sure the print head is clean before a detailed job.
Where DTF Fits in a Real Shop Workflow
The strongest argument for DTF is not that it replaces every other method, but that it fills gaps the others leave. A shop doing team jerseys with names and numbers can produce one-off pieces without burning screens. A small brand selling limited drops can print on demand without minimums. A craft seller can decorate tote bags, aprons, and baby onesies from the same roll of film.
That said, it is not always the cheapest option at high volume. For a thousand identical one-color shirts, screen printing still wins on cost per piece. The smart approach is to treat DTF as your flexible workhorse for small runs, complex art, and mixed materials, and keep other methods for the jobs where they make more sense.
If you are just getting started, resist the urge to buy the cheapest film and powder bundle. Spend one afternoon testing three film types and two powder grades with the same artwork. The differences in peel, stretch, and wash durability will tell you more than any spec sheet, and you will settle on a combination you can trust for repeat orders.
Frequently Asked Questions
Can DTF transfers be applied to 100 percent polyester?
Yes, and this is one of the method's advantages. Polyester accepts DTF well because the adhesive bonds at temperatures that most polyesters tolerate, though you should test a scrap piece first since some low-quality polyesters scorch easily. Keep the press at the lower end of your temperature range and use a pressing pillow to avoid seam marks.
How long do DTF prints last after washing?
With correct powder curing and press settings, a well-made transfer typically survives dozens of wash cycles without significant fading or cracking. Longevity depends more on your wash habits than the transfer itself: cold water, inside-out, no fabric softener, and air drying give the best results.
Do I need a special printer for DTF, or can I convert an existing one?
Many people convert a suitable desktop printer by installing DTF ink and a RIP profile, but not every model handles white ink circulation well. Printers with a white ink channel and a recirculation system produce far more reliable results. If you plan to print regularly, a dedicated DTF printer saves a lot of frustration.
What temperature and time should I start with for pressing?
A reasonable starting point is 320 to 340 degrees Fahrenheit for 10 to 15 seconds at medium to firm pressure. Adjust from there based on your film and powder brand, and always confirm platen temperature with a separate thermometer. Once you find settings that work, write them down and stick to them.
Is DTF more expensive than vinyl or screen printing?
For single pieces and small runs, DTF is usually cheaper than screen printing because there are no setup costs. Vinyl can be cheaper for very simple one-color designs, but it cannot reproduce gradients or fine detail the way DTF can. At high volumes of simple designs, screen printing still offers the lowest cost per unit.