
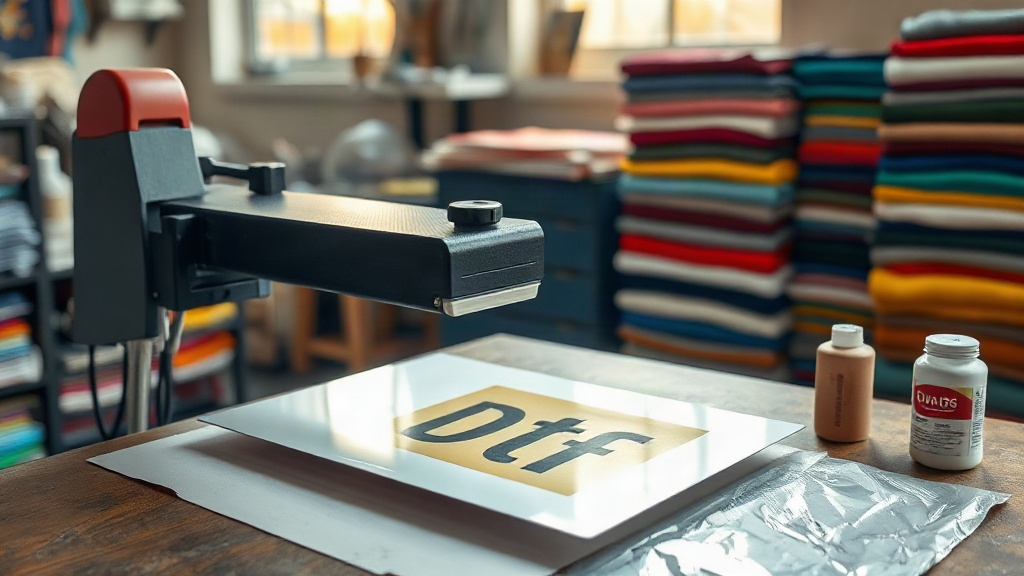
Walk into any custom apparel shop these days and you will likely spot a roll of film and a shaker of powder sitting next to the heat press. That setup is the telltale sign of DTF printing, a method that has quietly become one of the most versatile ways to put full-color graphics on fabric. Unlike screen printing, which demands a separate screen for every color, or vinyl cutting, which struggles with gradients and photos, DTF handles complex artwork in a single pass. For small businesses, crafters, and anyone tired of turning down jobs because the design had too many colors, that matters a lot.
What DTF Printing Actually Is
DTF stands for direct to film. The name describes the process accurately: a printer lays your design onto a special PET film rather than onto the garment itself. From there, a fine adhesive powder is applied to the wet ink, cured, and the resulting transfer can be stored or shipped. When you are ready, you press it onto a shirt, hoodie, tote, or almost any fabric with heat.
This two-step approach is what separates DTF from direct to garment printing. DTG prints straight onto the shirt, which limits you to cotton-heavy blends and requires pretreating. DTF sidesteps both problems. The transfer carries its own adhesive layer, so it bonds to cotton, polyester, nylon, blends, and even leather or canvas with predictable results.
The Core Materials
- PET film: The carrier sheet. It must be coated on one side to accept ink properly. Cheap uncoated film causes ink to bead and ruins detail.
- DTF ink: A pigment-based ink with a resin component. It is not the same as standard inkjet ink and should never be substituted.
- Adhesive powder: Thermoplastic powder, usually TPU-based, that melts into the ink and forms the bond with fabric. Particle size affects how the finished print feels.
How the Process Works Step by Step
Understanding the sequence helps you troubleshoot when something goes wrong. Here is the workflow most shops follow.
- Prepare the artwork. Mirror the design horizontally before printing. If you forget this step, text will come out backwards on the final garment.
- Print onto film. Load the PET sheet with the coated side facing the printhead. The printer lays down a white ink base first, then the color layers on top.
- Apply powder. While the ink is still wet, sprinkle adhesive powder evenly across the print. A shaker works for small runs; automated powder units handle production volumes.
- Cure the powder. Run the film through a curing oven or under a heat source until the powder melts and turns glossy. Under-curing leaves grainy, weak transfers.
- Press onto fabric. Set your heat press to the temperature and time your film manufacturer recommends, usually somewhere between 300 and 330 degrees Fahrenheit for 10 to 15 seconds.
- Peel and finish. Most films today are cold peel, meaning you wait for the transfer to cool before removing the carrier sheet. Warm peel films exist but are less common.
Why the White Layer Matters
On dark garments, the white ink base is what makes colors pop. Without it, yellow printed on a black shirt would look muddy and dull. The white layer sits underneath the CMYK inks and acts as an opaque foundation. Getting this layer right, with even coverage and no pinholes, is often the difference between a professional-looking print and one that looks washed out.
Where DTF Fits Compared to Other Methods
Every decoration method has a sweet spot. DTF shines in specific scenarios, and knowing them saves you money and frustration.
- Versus screen printing: Screen printing wins on large runs of simple designs because the per-unit cost drops with volume. DTF wins on short runs and complex art because there are no screens to burn or clean.
- Versus vinyl: Vinyl is fine for single-color names and numbers. The moment a design has gradients, shadows, or photographic elements, vinyl cannot compete.
- Versus DTG: DTG produces a softer hand feel on 100 percent cotton but requires pretreatment and struggles on synthetics. DTF works on nearly everything.
The trade-off with DTF is a slightly thicker feel on the garment, especially with lower-quality powder. Choosing a fine-particle powder and keeping your white layer thin but opaque minimizes this.
Getting Started Without Overspending
You do not need a full production setup to test the waters. Many people begin by ordering custom transfers from a print service, then pressing them at home with a basic heat press. This lets you learn press settings and fabric behavior before investing in a printer.
When you are ready to print in-house, focus on three things:
- A printer designed for DTF ink, not a converted desktop inkjet. Clogged printheads from the wrong ink are a common and expensive mistake.
- A heat press with accurate temperature control. Fluctuating temperatures cause inconsistent adhesion.
- Good ventilation. Curing powder releases fumes, and a small workspace needs airflow.
Common Mistakes to Avoid
New users tend to make the same handful of errors. Pressing too hot scorches the film and causes the print to crack. Pressing too cold leaves the adhesive under-activated, so the transfer peels after a few washes. Applying too much powder creates a rough, plastic-like surface. Skipping the mirror step wastes film and ink. Each of these is easy to fix once you know to look for it.
Durability and Care
A properly made DTF transfer survives dozens of wash cycles when cared for correctly. Wash inside out in cold water, avoid fabric softener, and skip the dryer or use low heat. The adhesive degrades faster with high heat and harsh chemicals, so gentle care directly extends the life of the print.
Frequently Asked Questions
Can I use DTF transfers on 100 percent polyester?
Yes, and this is one of its biggest advantages. Polyester and polyester blends press well with DTF because the low pressing temperature will not scorch the fabric the way some other methods can. Just keep the press temperature within the film maker's range to avoid dye migration on brightly colored polyester.
How long do DTF transfers last before pressing?
Stored properly in a cool, dry place away from direct sunlight, cured transfers keep for several months. Humidity is the main enemy because it can affect the adhesive powder. Sealing them in a bag with a desiccant packet is a simple habit that prevents surprises.
Do I need a special printer for DTF, or can I convert a regular one?
You need a printer built or converted specifically for DTF ink and white ink circulation. Standard desktop printers lack the white ink channel and the agitation system that keeps pigment from settling. Trying to run DTF ink through a printer not designed for it usually ends with clogged heads and ruined prints.
Is DTF more expensive than screen printing?
For small orders, DTF is almost always cheaper because there are no setup costs. For large runs of a single simple design, screen printing's lower per-unit cost can win. The break-even point depends on your design complexity and quantity, so it pays to compare both for each job.
What fabrics should I avoid with DTF?
Most fabrics work, but highly textured surfaces like heavy fleece can make the transfer sit unevenly. Silicone-coated or water-repellent fabrics are also poor candidates because the adhesive cannot grip the surface. Test a scrap piece before committing to a full order.