
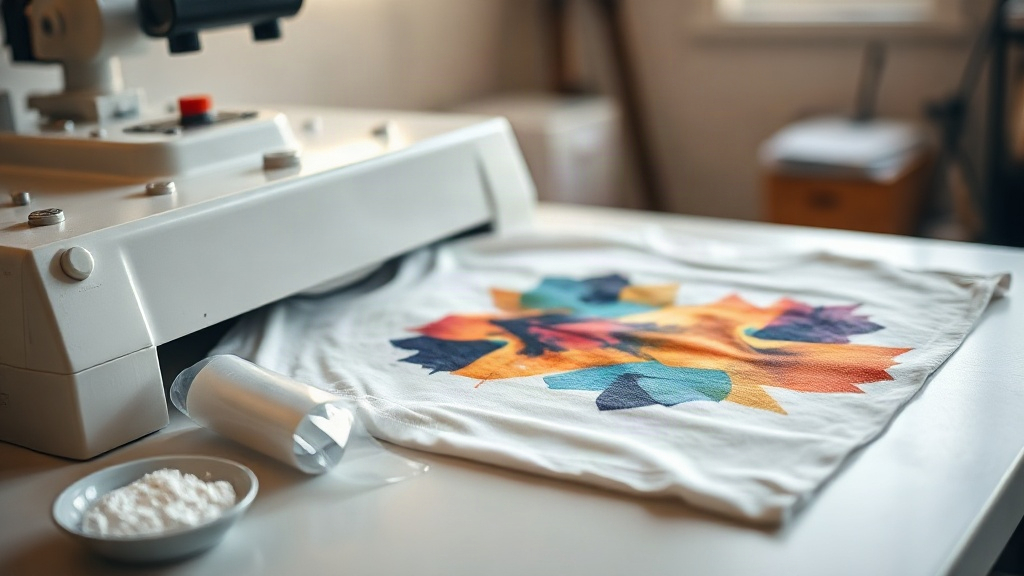
If you have spent any time in custom apparel circles lately, you have probably heard the term DTF thrown around. Maybe a friend showed off a shirt with a wildly detailed photo print that somehow felt soft to the touch, or you saw a small shop advertising full-color transfers with no minimum order. That is DTF printing, and it has quietly become one of the most accessible ways to put durable, high-detail graphics onto fabric. This guide walks you through what it actually is, how the process works, and what you need to know before you try it yourself.
What Is DTF Printing?
DTF stands for Direct to Film. Instead of printing directly onto a garment like DTG (Direct to Garment) or cutting vinyl like HTV, DTF printing works in two stages. First, your design is printed onto a special PET film using a printer loaded with pigment inks. Then a powdered hot-melt adhesive, usually called DTF powder, is applied to the wet ink. The powder sticks only where ink was laid down. After that, the film is cured, and the design is ready to be transferred onto fabric with a heat press.
The result is a transfer that can be applied to cotton, polyester, blends, canvas, and even some non-fabric surfaces. That versatility is a big part of why DTF has grown so quickly among hobbyists and small businesses alike.
How the DTF Process Works Step by Step
Understanding the workflow helps you troubleshoot problems later. Here is the basic sequence from file to finished garment.
1. Prepare Your Artwork
You start with a digital file, typically a PNG with a transparent background. Unlike screen printing, you do not need to separate colors. The printer handles full-color images, gradients, and fine details in one pass. Just make sure your resolution is high enough, usually 300 DPI at the final print size, or the transfer will look soft or pixelated.
2. Print Onto PET Film
The printer lays down a layer of white ink first, then the color inks on top. This white layer is what allows the design to show up on dark garments. The film itself is thin and slightly tacky, designed to hold the ink without smearing.
3. Apply DTF Powder
While the ink is still wet, you sprinkle DTF powder over the film. You then shake off the excess. The powder clings to the ink and acts as the glue that will bond the design to the fabric during pressing.
4. Cure the Film
The powdered film goes into a curing oven or under a heat source until the powder melts and forms a smooth, slightly glossy layer. This step is critical. Under-curing leads to washed-out prints; over-curing can make the transfer brittle.
5. Heat Press Onto the Garment
Finally, you place the cured transfer onto your fabric and press it with a heat press. Typical settings fall around 300 to 325 degrees Fahrenheit for 10 to 15 seconds with medium pressure. After pressing, you peel the film away, usually while it is still warm or after it cools, depending on the film type.
Why DTF Has Become So Popular
There are several practical reasons DTF printing has carved out a strong niche.
- No color separation needed. You can print photographs, complex gradients, and tiny text without extra prep work.
- Works on many fabrics. Cotton, polyester, blends, and even treated leather can accept DTF transfers.
- Low startup cost compared to screen printing. You do not need a different screen for every color.
- No minimum order. You can print one shirt or fifty without changing your setup.
- Durable results. When applied correctly, DTF prints survive dozens of washes without cracking or fading.
For a small shop selling custom tees online, those advantages add up fast. You can offer full-color designs without investing in expensive screen printing equipment or outsourcing every order.
DTF vs. Other Printing Methods
It helps to see where DTF fits next to the methods you might already know.
DTF vs. DTG
DTG prints directly onto the garment, which means you need a pretreatment step for dark shirts and the fabric must be mostly cotton. DTF skips the pretreatment and works on more materials, but you do have the extra film and powder steps.
DTF vs. Vinyl (HTV)
Heat transfer vinyl is great for simple shapes and single-color text. It falls apart with photographic images or fine gradients. DTF handles those with ease, though vinyl can feel slightly thinner on the shirt.
DTF vs. Screen Printing
Screen printing still wins on cost per piece for large runs of simple designs. DTF wins on flexibility, setup speed, and the ability to print full-color art without burning a screen for every color.
What You Need to Get Started
If you want to try DTF printing at home or in a small shop, here is a realistic starter list.
- A DTF printer, or access to a print service that produces DTF transfers for you.
- PET film designed specifically for DTF printing.
- DTF powder and a way to apply it evenly.
- A curing oven or a heat press that can reach the required temperature.
- A heat press for the final transfer step.
- Software for preparing your artwork, such as Photoshop, Affinity Photo, or a RIP program.
You can also start without buying a printer. Many online services will print and ship DTF transfers based on your uploaded files. That is a smart way to test demand before committing to equipment.
Common Mistakes Beginners Make
Most early problems with DTF come down to a few recurring issues.
- Not enough powder. If you shake off too much, the transfer will peel. If you leave too much, the print feels rough.
- Wrong pressing temperature. Too low and the adhesive will not bond; too high and the film can scorch.
- Pressing on the wrong side. Always confirm which side of the film faces the fabric.
- Peeling too early or too late. Follow the film manufacturer's instructions for hot peel or cold peel.
- Stretching the garment immediately. Let the print cool and settle before handling.
Keeping a notebook of your settings for each fabric type will save you a lot of frustration. Small variables matter more than most beginners expect.
Caring for DTF-Printed Garments
A well-applied DTF transfer can last a long time, but how you wash it matters. Turn the garment inside out, use cold water, and avoid harsh detergents or fabric softeners. Tumble dry on low or hang dry. Skip the iron directly on the print. If you follow those habits, most DTF prints hold up through many wash cycles.
Frequently Asked Questions About DTF Printing
Can I use DTF printing on 100% polyester?
Yes. DTF transfers bond well to polyester, though you may need to lower your press temperature slightly to avoid scorching. Always test on a scrap piece first.
How long do DTF prints last?
With proper application and washing, many DTF prints last for years. Durability depends on the powder quality, curing, pressing settings, and how the garment is cared for.
Do I need a special printer for DTF?
You can convert some inkjet printers with DTF ink and a RIP software setup, but dedicated DTF printers are designed for the process and tend to be more reliable. If you are just starting, using a print service is often the safer route.
Is DTF printing better than DTG?
Neither is universally better. DTF shines on dark and synthetic fabrics and handles complex art easily. DTG can feel softer on 100% cotton and skips the film step. The right choice depends on your materials and order types.
What is the difference between DTF and DTF powder?
DTF refers to the overall printing method. DTF powder is the adhesive applied to the wet ink during the process. You need both to complete a transfer.
Final Thoughts
DTF printing has earned its place because it solves real problems: full-color art, no color separation, broad fabric compatibility, and low barriers to entry. Whether you are printing shirts for a local team or building a small custom apparel brand, understanding the process from artwork to heat press gives you control over quality. Start with a few test prints, track your settings, and refine from there. The learning curve is short, and the results speak for themselves.