Positioning Nurse Transfers Accurately
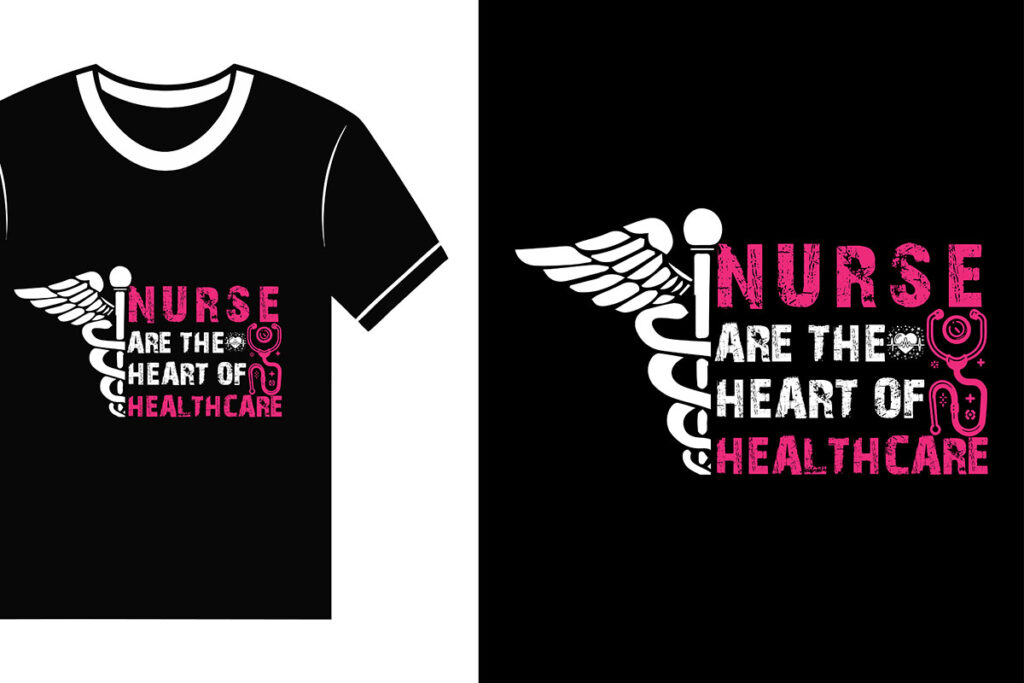
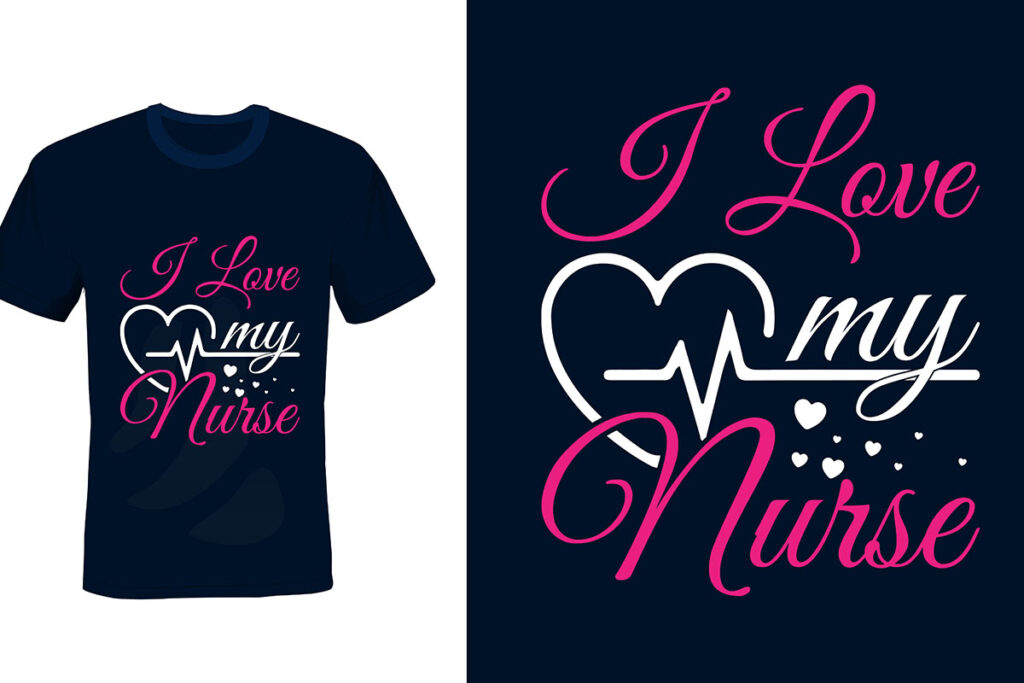
Accurate positioning is essential for a professional look when applying Nurse Transfers. Once the transfer is applied, it’s difficult to adjust or move it, so take the time to get it right the first time. Lay the item flat and use a ruler or tape measure to center the transfer correctly. Mark your placement with light pencil marks or masking tape if necessary.
Customizing medical gear, especially with Nurse Transfers, has become a popular way for healthcare professionals to personalize their uniforms and accessories. Whether you’re applying transfers to scrubs, lab coats, or bags, it’s important to get the technique right to ensure a long-lasting and professional finish. Applying Nurse Transfers may seem straightforward, but there are specific steps and tips to follow for the best results. In this blog, we’ll share the top tips for applying Nurse Transfers effectively, ensuring your designs stay vibrant and durable.
Preparing the Surface Properly
Before you start applying Nurse Transfers, it’s essential to prepare the surface you’re working on. For fabric items such as scrubs or lab coats, make sure the fabric is clean and free of lint or dust. Wash the item first if necessary, but ensure it’s completely dry before applying the transfer. Dirt or residue can interfere with how well the transfer adheres, so having a clean surface is the first step to success.
If you’re working with a hard surface, such as a tote bag or other accessories, clean the area with a soft cloth to remove any dust or oils. A smooth, clean surface is key to ensuring the Nurse Transfers adhere correctly and last longer.
Choosing the Right Heat Source
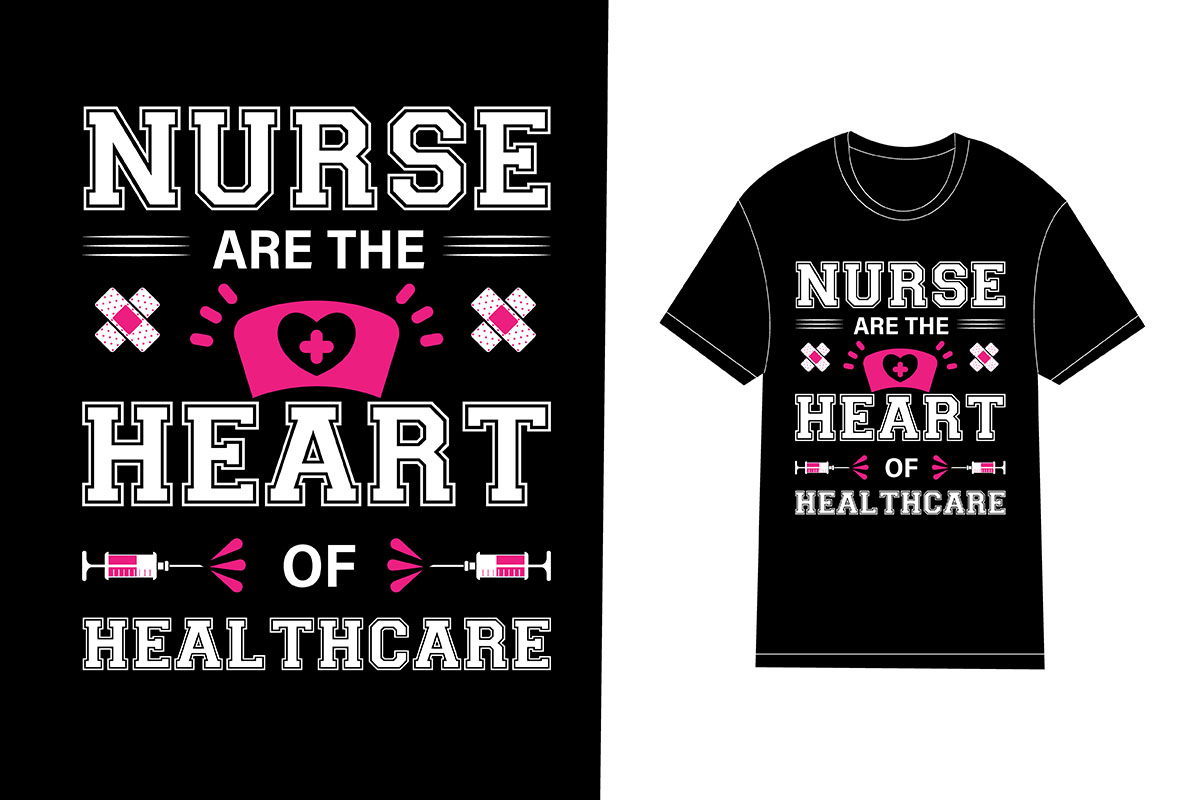
The most important part of applying Nurse Transfers is using the correct heat source. Most transfers require heat to bond properly with the fabric or surface. You can use either a heat press or a household iron, depending on what you have available. However, it’s crucial to use the right temperature settings to avoid damaging the fabric or the transfer.
For fabrics like cotton or polyester, which are commonly used for scrubs and lab coats, set your heat press or iron to around 300°F to 350°F. If using an iron, turn off the steam function, as moisture can prevent the transfer from bonding properly. Press the heat evenly across the transfer to ensure every part adheres without gaps.
Applying Even Pressure
Even pressure is critical when applying Nurse Transfers to ensure that the entire design adheres properly. If using a heat press, apply consistent pressure according to the machine’s settings. For those using a household iron, make sure to press down firmly and move the iron in circular motions to evenly distribute the heat across the transfer.
Don’t forget to pay attention to the edges of the design. These areas can sometimes peel if not pressed firmly enough. Make sure to give them extra attention to avoid bubbling or lifting over time.
Following the Recommended Pressing Time
Each Nurse Transfer comes with specific instructions regarding how long you should apply heat. It’s essential to follow these guidelines to ensure the transfer bonds correctly. Applying heat for too long can cause the design to fade or burn, while too little time may result in an incomplete bond, causing the design to peel.
Typically, Nurse Transfers require about 10 to 15 seconds of heat for fabric applications. Check the manufacturer’s instructions for specific times and avoid rushing the process. If using a heat press, ensure that the timer is set correctly, and if you’re using an iron, make sure you’re pressing evenly for the full recommended time.
Letting the Transfer Cool Before Peeling
After applying heat, patience is key. Let the Nurse Transfer cool slightly before peeling away the backing. Depending on the type of transfer, it may require a hot peel (peeling the backing while still warm) or a cold peel (waiting for the design to cool completely). Follow the instructions carefully.
For cold peel transfers, rushing the process can cause the design to lift or tear. Always wait until the design has cooled completely before gently peeling back the backing paper. If any part of the transfer hasn’t adhered properly, reapply heat for a few more seconds and check again.
Conclusion
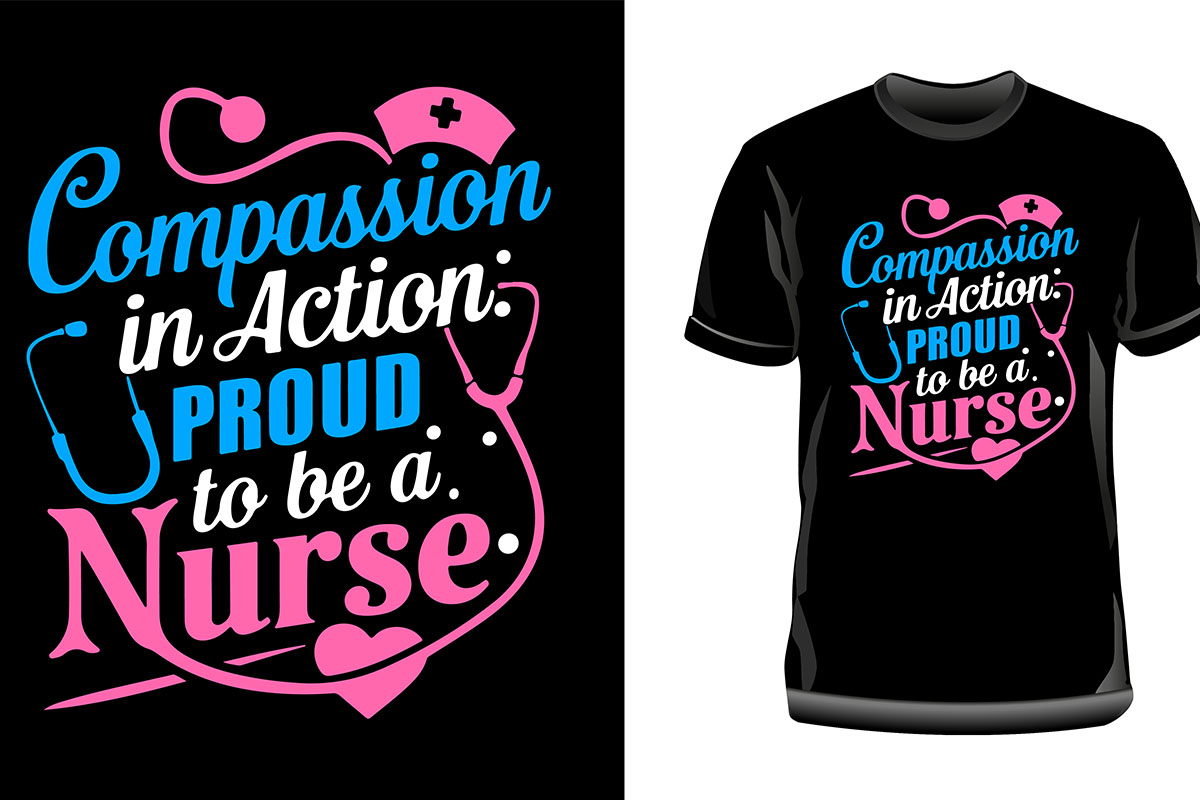
Applying Nurse Transfers is a great way to personalize uniforms and medical gear, but getting a perfect result requires the right technique. From preparing the surface to choosing the correct heat source and ensuring proper pressure, each step contributes to the overall success of the application. By following these tips, you can ensure that your Nurse Transfers look professional and last through multiple wears and washes, keeping your scrubs and gear looking their best for as long as possible.
FAQ
- What are Nurse Transfers?
- Nurse Transfers are heat-applied designs that allow nurses to personalize uniforms, scrubs, and accessories with names, symbols, or custom designs.
- How do I prepare my scrubs for Nurse Transfers?
- Make sure your scrubs are clean and dry before applying Nurse Transfers. Any dirt or residue can interfere with the adhesion of the transfer.
- What heat source is best for applying Nurse Transfers?
- You can use either a heat press or a household iron. Make sure the temperature is set between 300°F and 350°F, and turn off the steam function on the iron.
- How do I ensure the transfer is positioned correctly?
- Use a ruler or measuring tape to position the transfer accurately before applying heat. For larger designs, consider using heat-resistant tape to secure the transfer.
- How long should I apply heat for Nurse Transfers?
- Typically, Nurse Transfers require 10 to 15 seconds of heat. Always follow the manufacturer’s instructions for specific heat times.
- Should I peel the backing off while the transfer is still warm?
- It depends on the transfer type. Some transfers require a hot peel, while others need to cool completely before peeling. Always follow the instructions provided.
- What should I do if part of the transfer doesn’t stick?
- If part of the transfer hasn’t adhered properly, apply heat for a few more seconds and check again. Ensure you’re using even pressure across the design.
- Can Nurse Transfers be applied to non-fabric surfaces?
- Yes, Nurse Transfers can be applied to other surfaces like tote bags or certain accessories, as long as the surface is smooth and clean.
- How do I care for clothing with Nurse Transfers?
- Wash items with Nurse Transfers inside out in cold water to preserve the design. Avoid high heat when drying to extend the life of the transfer.
- Can I reuse Nurse Transfers?
- No, Nurse Transfers are designed for one-time use only. Once applied, they cannot be removed or reused.

