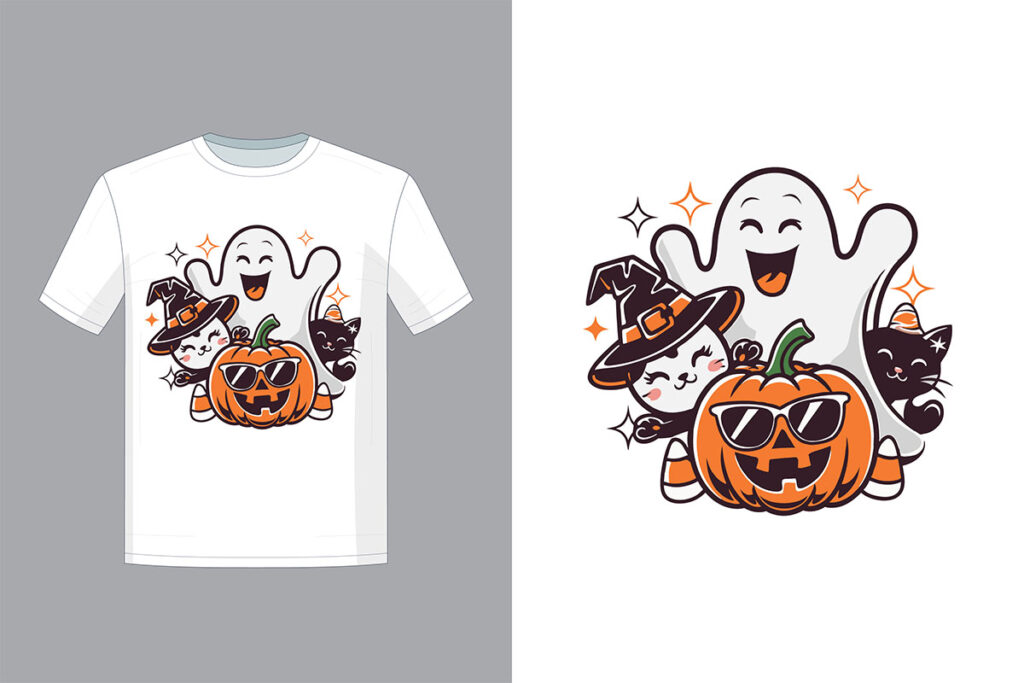
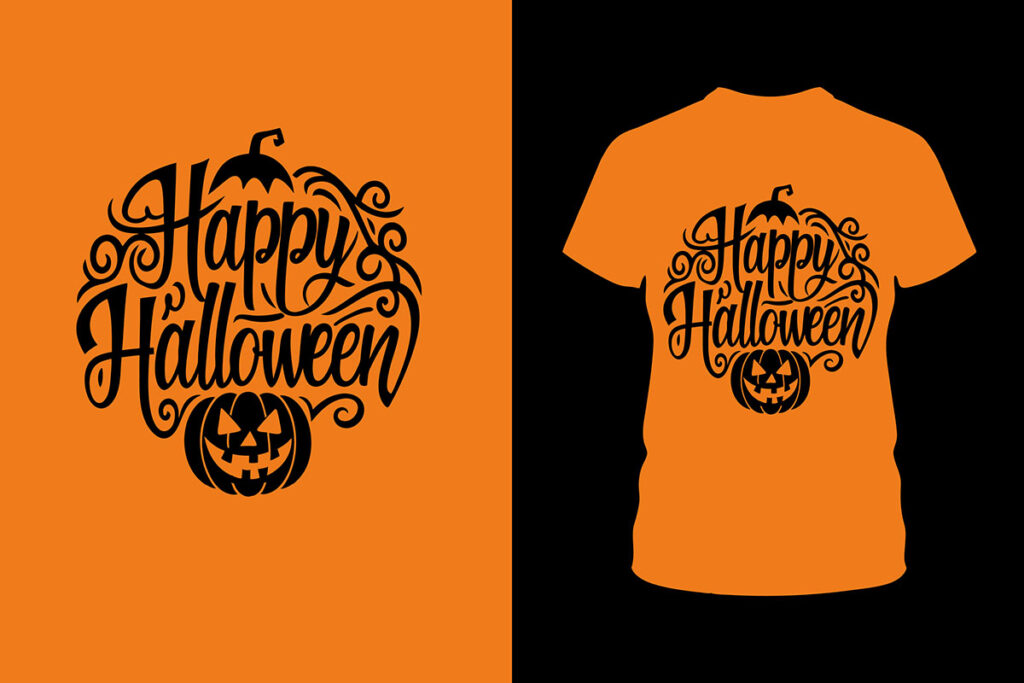
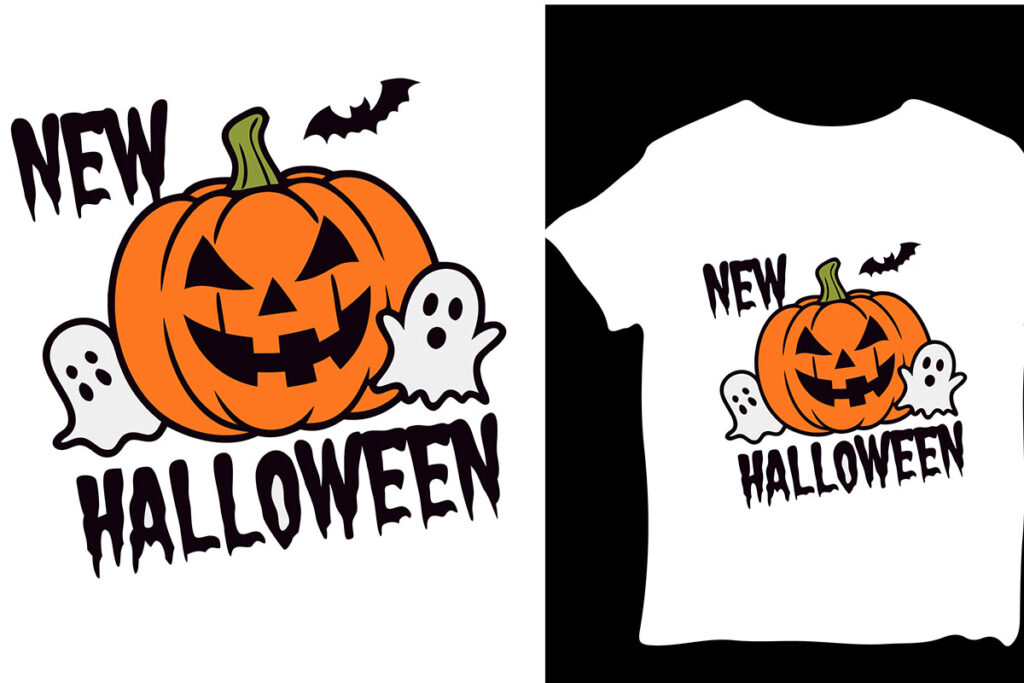
Choosing the Right Materials for Halloween Transfers
When it comes to Halloween decorations, costumes, or personalized gifts, using Halloween Transfers is one of the easiest and most effective ways to add a spooky flair to your projects. These transfers allow you to quickly customize various materials, from fabric to wood, without the need for artistic skills. However, to ensure that your transfer application is smooth, durable, and looks professional, there are a few tips and techniques you should follow. In this blog, we will explore the best methods for applying Halloween Transfers so that you can create eye-catching and long-lasting designs for the Halloween season.
The first step to successfully applying Halloween Transfers is to choose the right material for the project. Different surfaces respond differently to transfers, and you want to ensure that your chosen surface is compatible with the transfer type.
For fabric projects, such as costumes, t-shirts, or tote bags, cotton and polyester blends work best. These fabrics allow the transfer to bond properly, ensuring a long-lasting result. If you’re applying Halloween Transfers to hard surfaces like wood, glass, or metal, make sure the surface is smooth and clean before starting. Any dirt or residue can affect how well the transfer adheres to the material.
Preparing the Surface for Application
Before you begin applying your Halloween Transfers, it’s essential to prepare the surface to ensure the best possible adhesion. For fabric items, wash the fabric first to remove any sizing, chemicals, or oils that may interfere with the transfer. Make sure the fabric is completely dry before applying the transfer.
For non-fabric surfaces, such as wood or glass, cleaning the surface thoroughly is key. Use a soft cloth and rubbing alcohol to wipe away any dirt, oil, or debris that might prevent the transfer from sticking properly. A clean surface guarantees that your Halloween Transfers will adhere smoothly and last throughout the season.
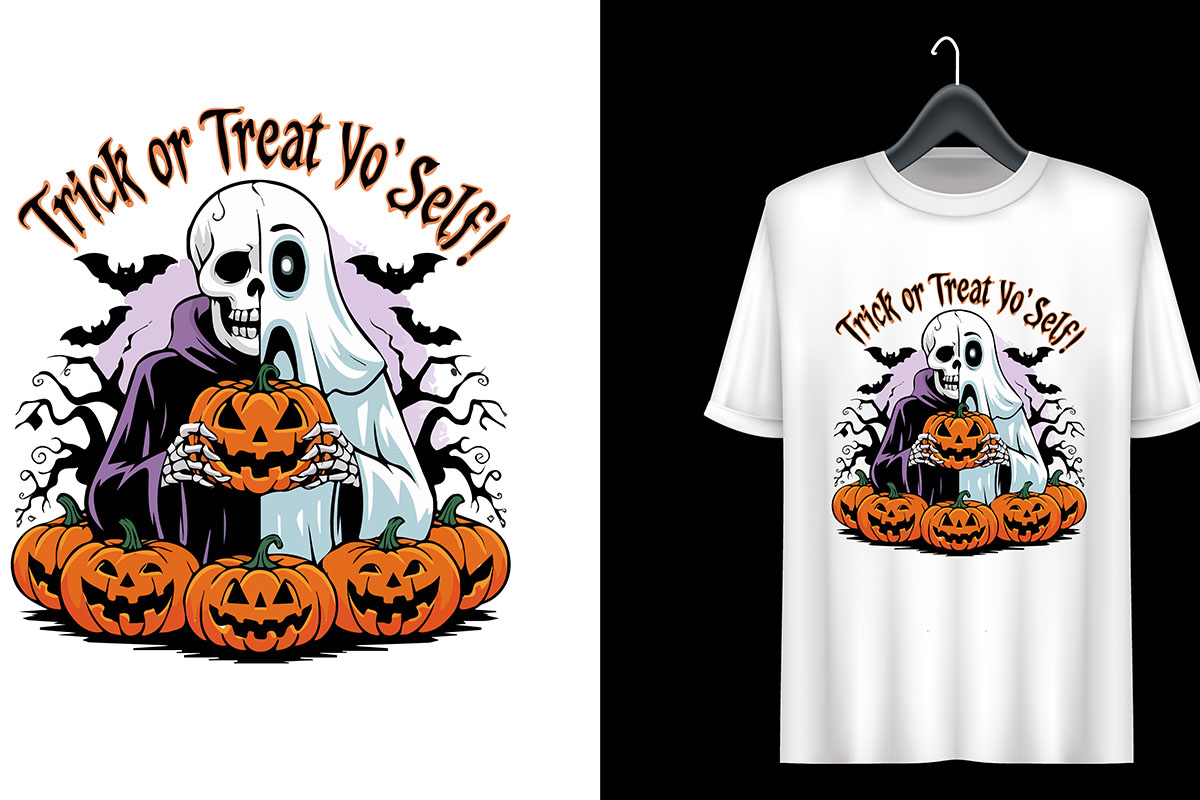
Using the Correct Heat Settings
When applying Halloween Transfers, the heat source is crucial for ensuring that the design adheres properly to the material. Most transfers are applied using either a heat press or a household iron, and the key to success is using the correct temperature and pressure.
For fabric projects, set your heat press or iron to the recommended temperature (usually between 300°F to 350°F, depending on the transfer type). If you’re using an iron, make sure the steam setting is turned off, as steam can prevent the transfer from adhering properly. Press the iron or heat press firmly over the transfer for the recommended amount of time, ensuring even heat distribution across the entire design.
Positioning Halloween Transfers Accurately
Positioning your Halloween Transfers accurately before applying heat is critical to achieving a professional look. Once the transfer is applied, it’s difficult to make adjustments, so take your time to ensure the design is centered and placed exactly where you want it.
To ensure accuracy, use a ruler or measuring tape to align your transfer, especially when working on fabric items like t-shirts or tote bags. For hard surfaces like wood or glass, it’s a good idea to lightly mark the position with a pencil or use masking tape to hold the transfer in place before applying heat.
Applying Even Pressure
When using Halloween Transfers, applying even pressure is just as important as using the correct temperature. Uneven pressure can cause parts of the transfer to peel or bubble, resulting in an incomplete or unprofessional-looking design.
If you’re using a heat press, the machine will provide consistent pressure for you. However, if you’re using an iron, press down firmly and make sure to move the iron in smooth, circular motions across the entire transfer area. Pay close attention to the edges of the transfer to ensure that every part of the design adheres properly to the surface.
Peeling the Transfer Carefully
After you’ve applied heat to your Halloween Transfers, it’s important to allow the design to cool slightly before peeling away the backing paper. Peeling too quickly or while the transfer is too hot can cause the design to lift or distort.
Follow the manufacturer’s instructions regarding whether the transfer is a hot peel or a cold peel. For hot peel transfers, you can remove the backing while the design is still warm, but for cold peel transfers, you must wait until the surface has cooled completely. Slowly peel the backing away, checking to make sure the entire design has adhered. If any part of the design is lifting, press it again with the iron or heat press for a few more seconds.
Conclusion
Applying Halloween Transfers can turn any ordinary object into a festive masterpiece. Whether you’re customizing clothing, home decor, or party favors, these transfers offer a quick and creative solution for adding a spooky touch to your Halloween projects. By choosing the right materials, preparing your surfaces, using the correct heat settings, and applying even pressure, you can ensure that your Halloween Transfers look professional and last throughout the season. With a little care and attention, you can create fun, personalized designs that make your Halloween decor and costumes truly stand out.
FAQ
- What are Halloween Transfers?
- Halloween Transfers are heat-applied designs that can be used to personalize costumes, decorations, and accessories for Halloween-themed projects.
- Can I use Halloween Transfers on any material?
- Halloween Transfers work best on cotton, polyester, and smooth surfaces like wood, glass, and metal. Always ensure the surface is clean before applying the transfer.
- What heat settings should I use for Halloween Transfers?
- For fabric, set your iron or heat press to the recommended temperature, typically between 300°F to 350°F. Always follow the instructions provided with the transfer for best results.
- How do I position Halloween Transfers accurately?
- Use a ruler or measuring tape to align the transfer on your item. Lightly mark the placement with a pencil or secure the transfer with masking tape before applying heat.
- Do I need to apply pressure when using Halloween Transfers?
- Yes, even pressure is crucial for ensuring the transfer adheres properly. A heat press will provide consistent pressure, but if you’re using an iron, press down firmly and move it in smooth motions.
- How long should I press the transfer with heat?
- Follow the manufacturer’s instructions for the recommended time. Typically, this is around 10 to 15 seconds, but it can vary depending on the transfer and the surface.
- Can I reuse Halloween Transfers?
- No, Halloween Transfers are designed for single-use applications. Once applied, they cannot be removed or reused.
- How should I peel the transfer after applying heat?
- Wait for the transfer to cool slightly before peeling. For hot peel transfers, peel while the design is warm. For cold peel transfers, wait until the design has cooled completely.
- How do I care for items with Halloween Transfers?
- For fabric items, wash them inside out and in cold water to preserve the design. Avoid harsh chemicals and high heat to keep the transfer intact.
- Can Halloween Transfers be used for outdoor decorations?
- Yes, Halloween Transfers can be used on outdoor decorations such as signs, planters, or welcome mats. Make sure the surface is smooth and clean for the best results.

